To take a screenshot on Windows, there are a few different methods you can use:
Use the Print Screen button
The easiest way is to press the Print Screen key, usually located in the top right of your keyboard. This will take a screenshot of your entire screen and save it to your computer's clipboard. You can then paste the screenshot into programs like Paint to save it.
Use Snipping Tool
Windows includes a built-in Snipping Tool app that lets you select a specific area of the screen to capture. Launch the Snipping Tool from the Windows menu or by searching for it. Then select New to take a screenshot of a window, section of the screen, or freeform shape.
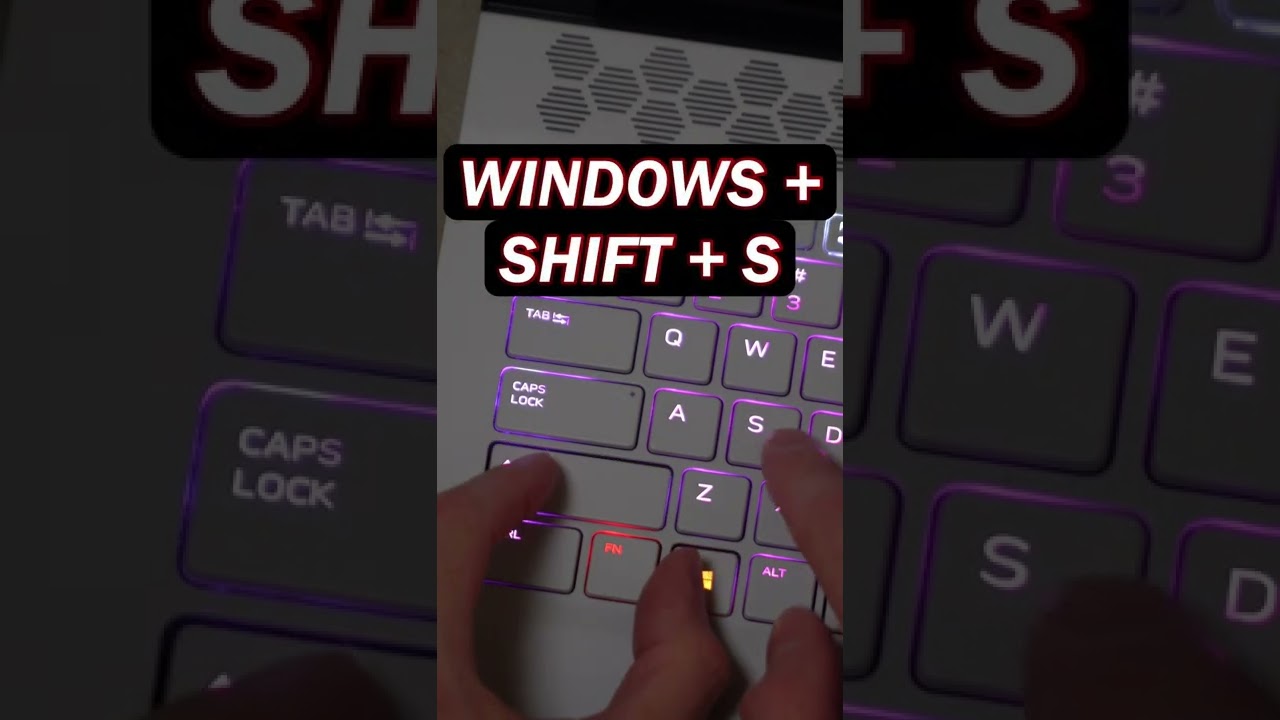
Use the Snip & Sketch app
If you have Windows 10 October 2018 Update or later, you can use the redesigned Snip & Sketch app. Open it from the Windows menu and select New to take screenshots like with Snipping Tool. It includes additional annotation tools as well.
Use third-party screenshot tools
For more advanced screenshot options, download a third-party screenshot tool like Greenshot. These let you customize screenshot hotkeys, automatically save screenshots, and perform edits on captures.
Related tutorial videos:
How to take a screenshot on a PC or laptop with Windows


Leave a Reply